
Simulate hair. Part: portrait afterwork. Recommendations.
|
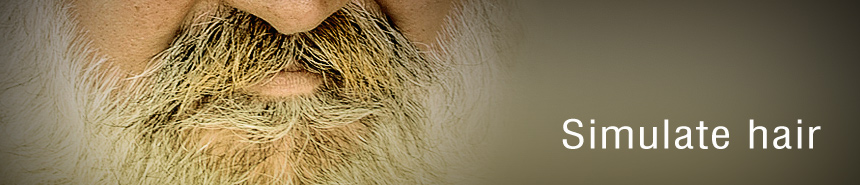
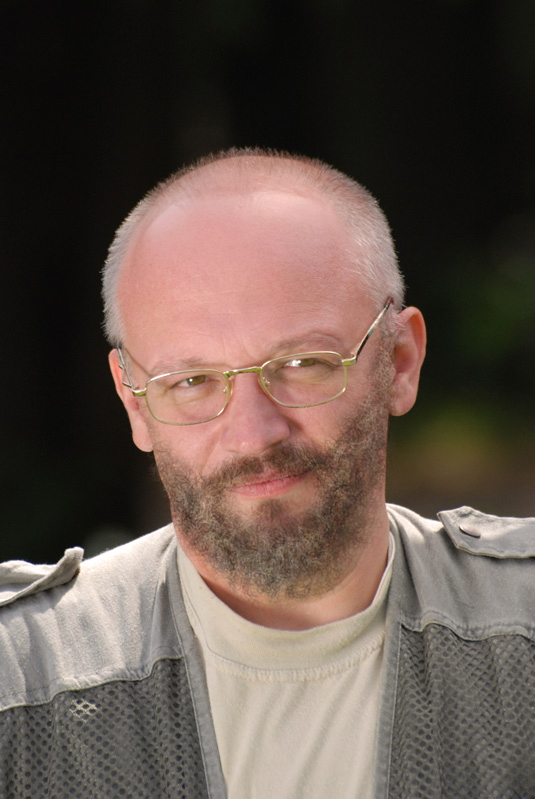
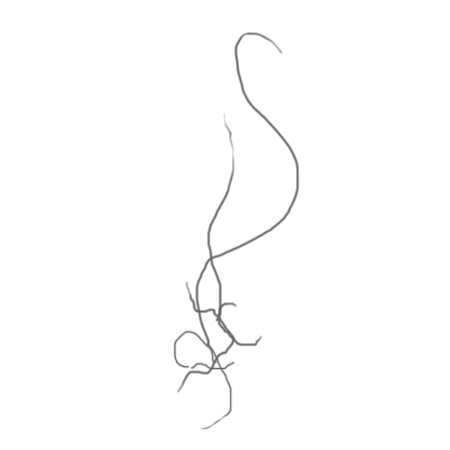
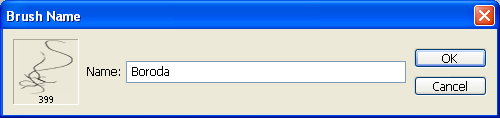
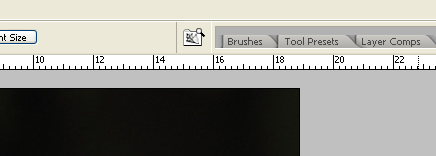
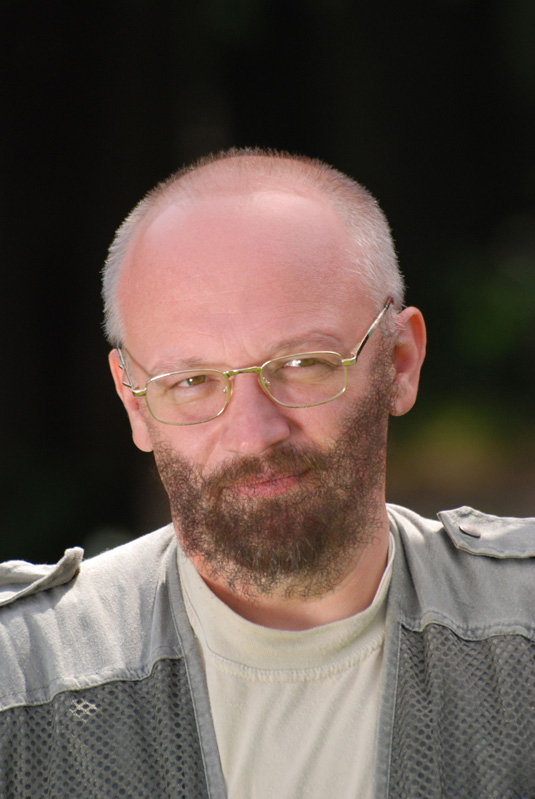
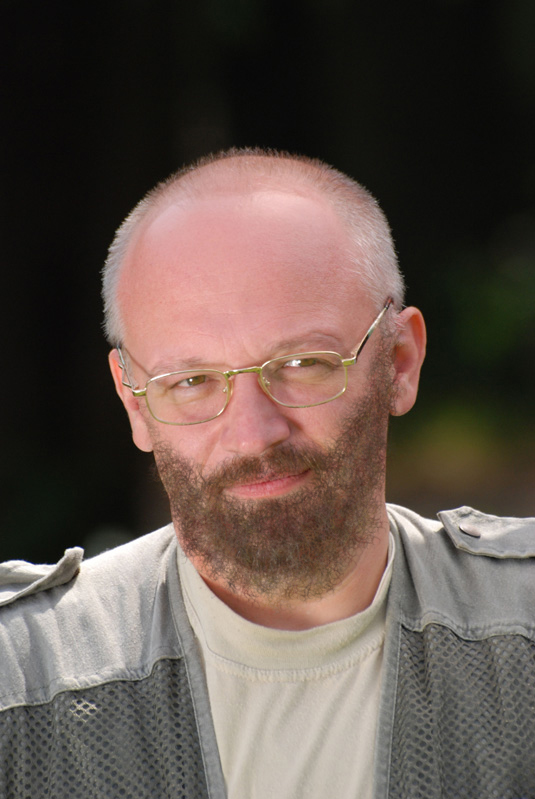
Retouching portrait we frequently face with a hair redesign problems. There are a lot of methods to modify haircuts or other object hair coats. On my opinion below method is the most successful. So I choose basic picture to learn how to simulate hair. Maybe we will modify beard? Original picture is: We create new document (size 450x459 pixels). Then create new transparent layer Layer>New Layer. At the layer we paint a little hair with hard gray colour brush (diameter 2-3 pixels). So we have got: Then we go to Edit>Difine Brush Preset, find there our brush and name it “boroda” Then go to the top Photoshop panel, find and open tab Brushes 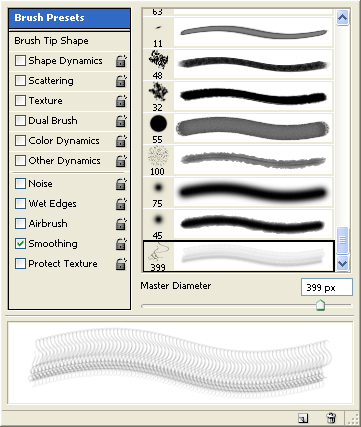 Then we will work with Shape Dynamics menu and set up following settings: 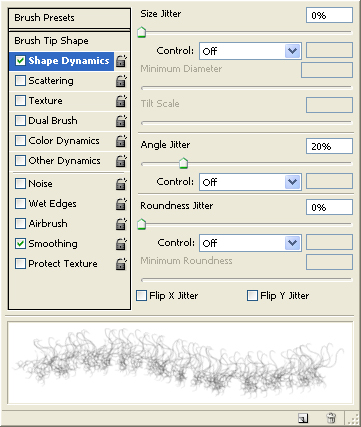 For Color Dynamics menu we set up following settings: 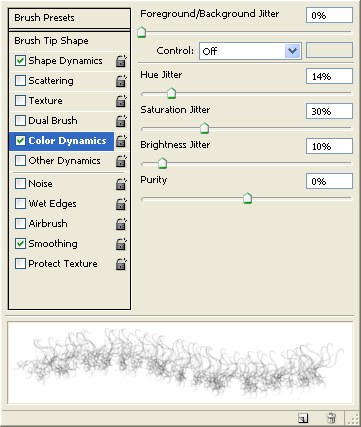 And Other Dynamics: 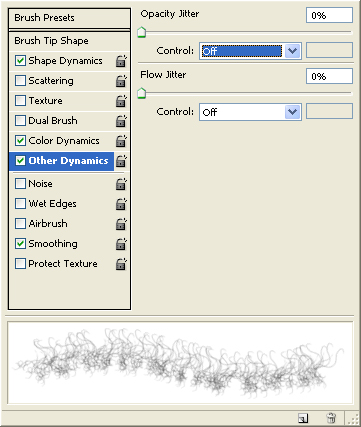 Then we click at the square below the panel: 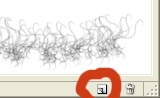 And save brush name. |
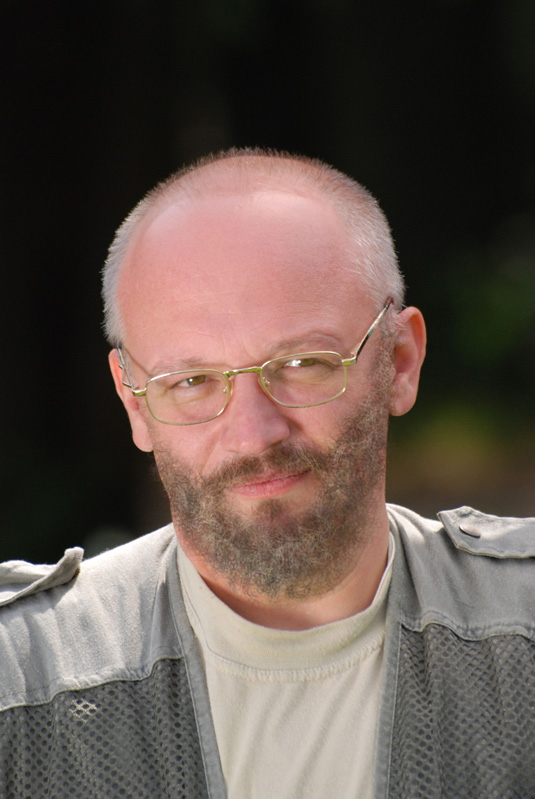
Open picture of the object, create new layer (Layer>New Layer), choose our brush, choose by Dropper the darkest colour of the object hair, adjust brush size and paint the 1st dark beard layer. Unnecessary are do be removed by Eraser tool. Then create next layer. Change brush colour for lighter and keep on painting the beard, then remove unnecessary by Eraser tool. Create new layer and choose light-gray colour (like hair colour of the head) and paint, remove unnecessary. Then create another layer, set "Difference" features and we paint final beard layer with gray brush. Remove unnecessary. You can a bit transparence of this layer. Now merge all layers, go Image>Adjastment>Photo Filter and choose Sepia 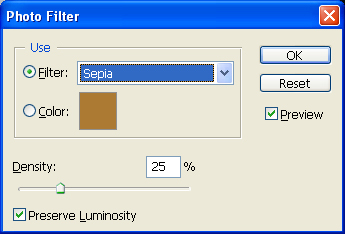 Click Ok and our man has a thick beard. The end. To be continued… |


Copyright © 2008-2024 www.zhamkov.com
Click on image to view full size