
Nice views round-the-clock. Using of Photoshop in picture editing. Picture creation step-by-step.

|
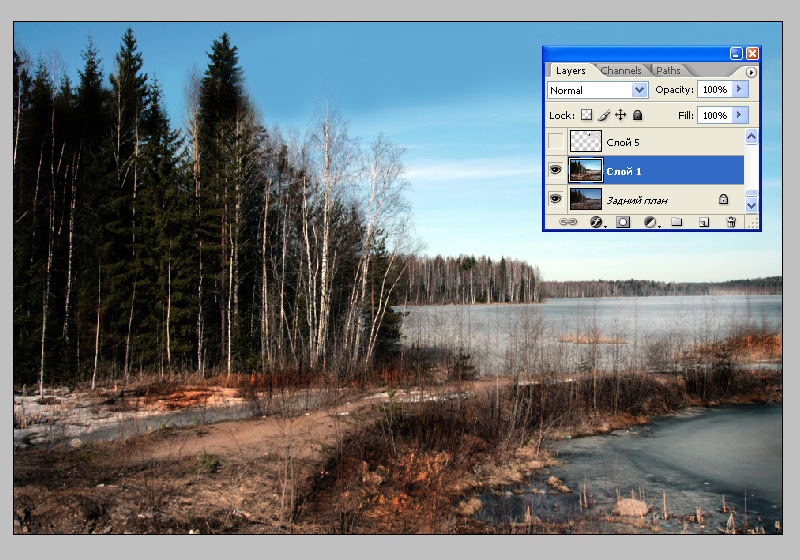
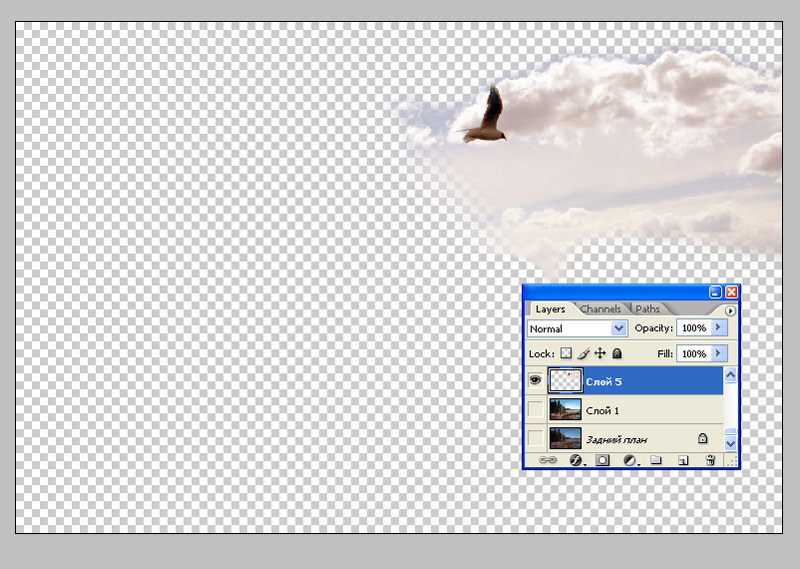
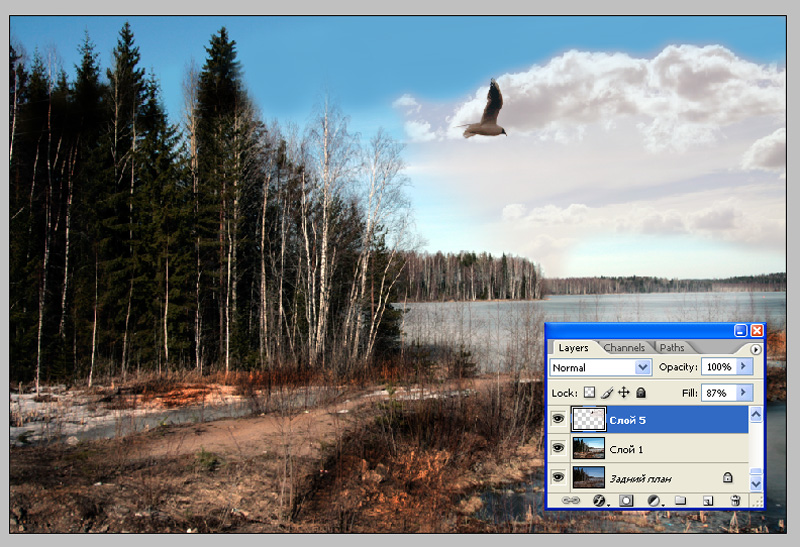
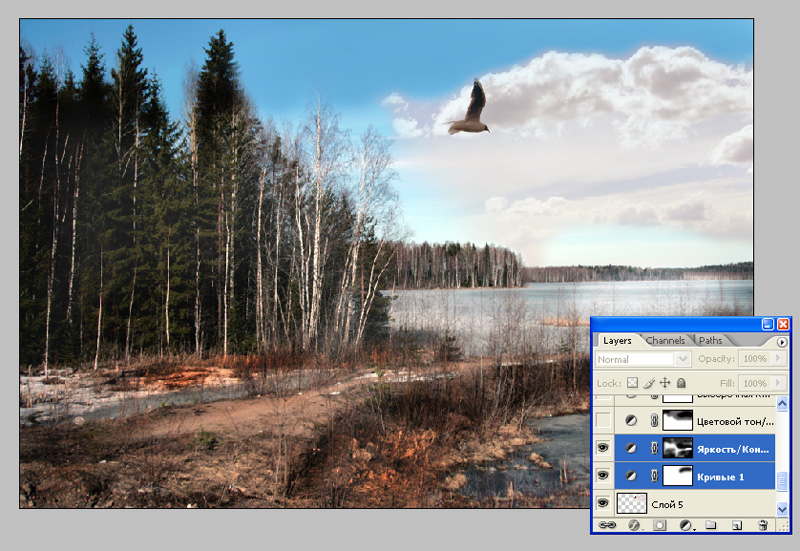
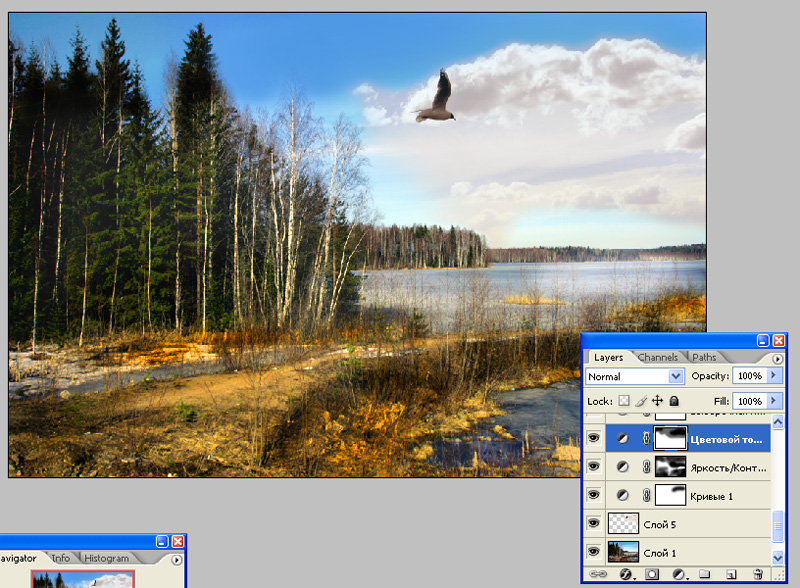
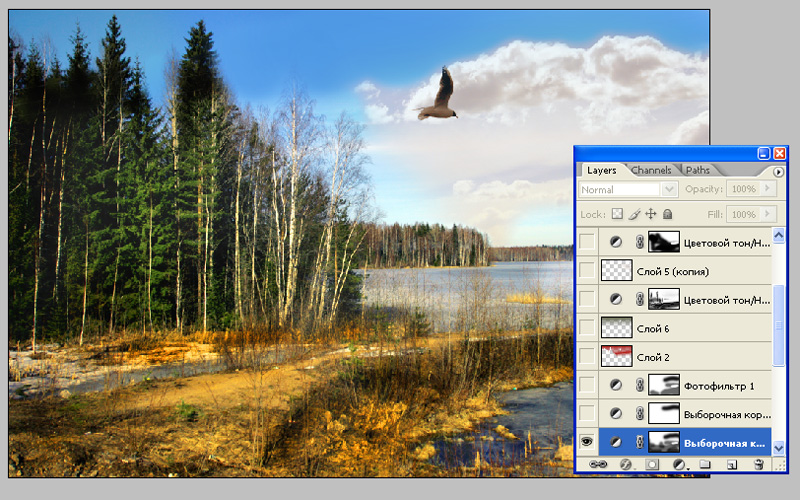
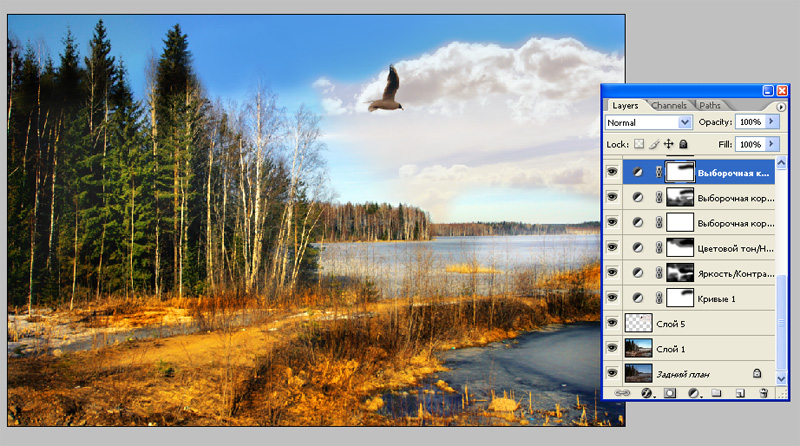
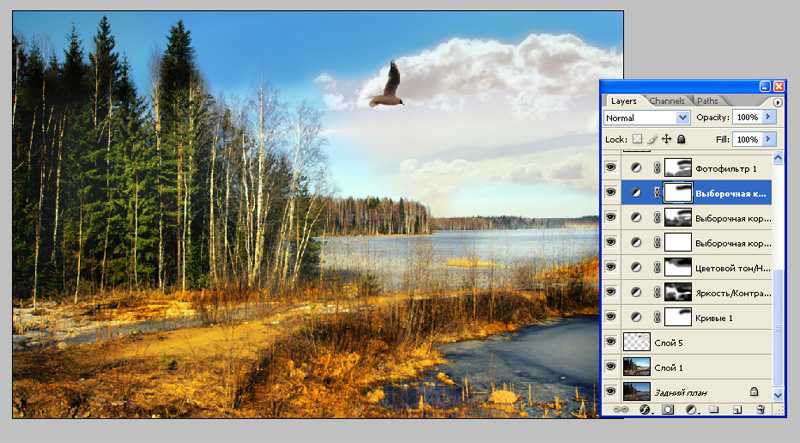
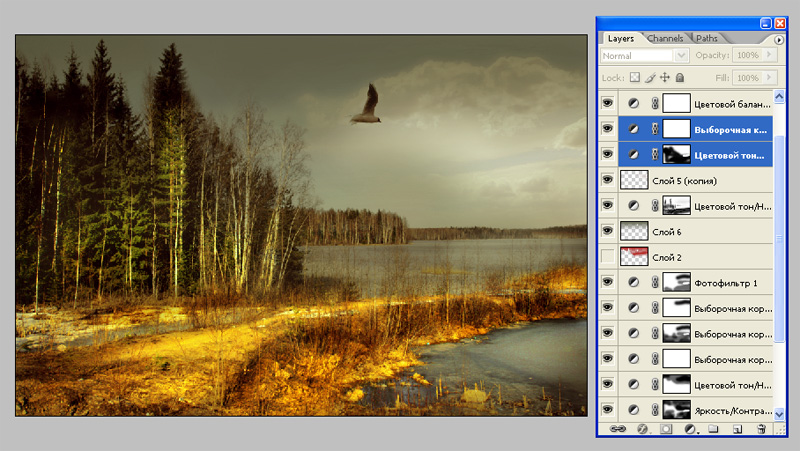
This is one of my 1st tutorial, thus I treat it very sentimental. It is called Nice views round-the-clock. Studied at this lesson principles and basic instruments of collage creation could seem exaggerated but very useful form practical point of view. Now let us start! Step 1. You took a picture. The better quality of the picture the less work on the picture in future. Open Photoshop. Create Layer duplicate (Layer 1). Step 2. Press Ctrl+L, and correct WB (I will not explain how to do it, because you should know it. If you do not know so press «Auto level» - and you will get acceptable quality). Then in this Layer use “light Dodge” “dark Burn” to select light-shadow pattern of the objects which have composition significance. Now we have darkened area of grass in front of trees and a part of sandy shore. Sandy shore is lightened. In general this picture is a large field for creation and experiments. Step 3. Take a look at the sky image. If the picture has surface pattern (there are clouds, birds etc) you need not edit it at this stage. If the picture does not have such a pattern I advice you to add some additional details. How it could be done? Look through your picture archives and you obviously will find a few pictures with sky and clouds. That is what you need. Then you cut out from the old image essential patch and put it into your picture as a new Layer. This case we are lucky because we have a flying bird at the picture. Then use “Eraser” with opacity and flow differentiated from maximum level to correct edges of imported patch. Step 4. Go to tab Layers and choose “New adjustment layer”, then “Curves”, change curve settings until you get essential result. The same is for brightness / contrast: «layer»-«new adjustment layer» «layer»-«new adjustment layer» - you can change settings at your option. Nuance! You can get some kind of painting effects / layer correction by painting with black brush on c corrected layer (that is important). In other words if you have already lightened the layer to get the darkest element more visible so at present moment while painting with black brush at the image you renew originally brightness in places where at present you have opposite. 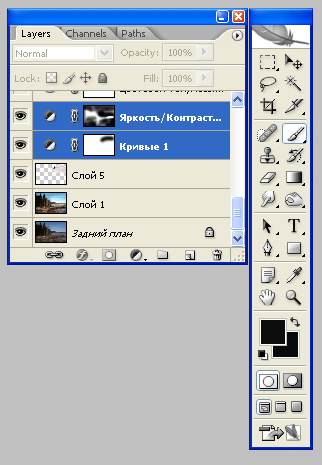 Step 5. Create a new layer «layer»-«new adjustment layer» - «color Balance», then vary colour and remove unnecessary with a black brush (painting). Step 6. Create a new layer «layer»-«new adjustment layer» - «selective color», then vary colour and remove unnecessary with a black brush (painting). Step 7. Repeat last action with another colour (usually: red, yellow, green and blue). Surely you can perform these actions at the same layers but this case you would not have a chance to paint with black brush on each layer. |
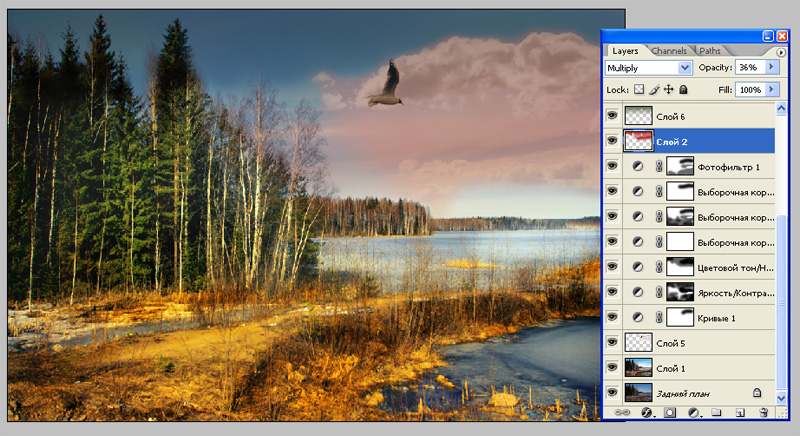
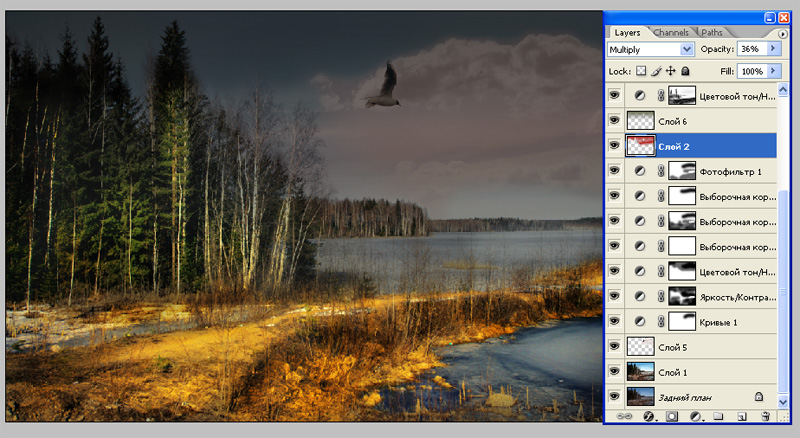
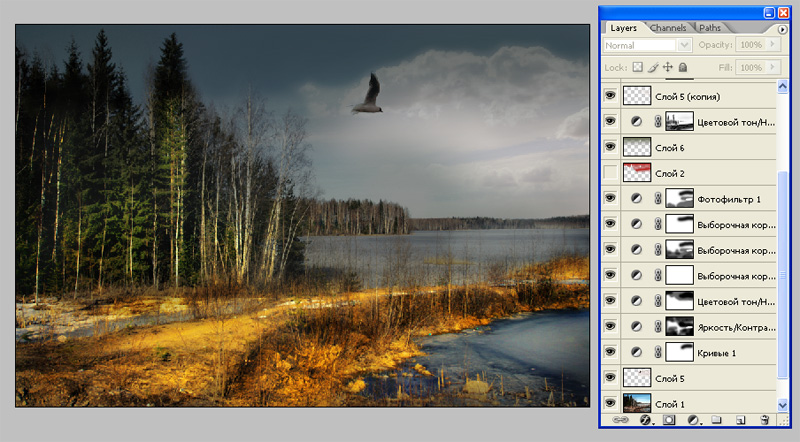
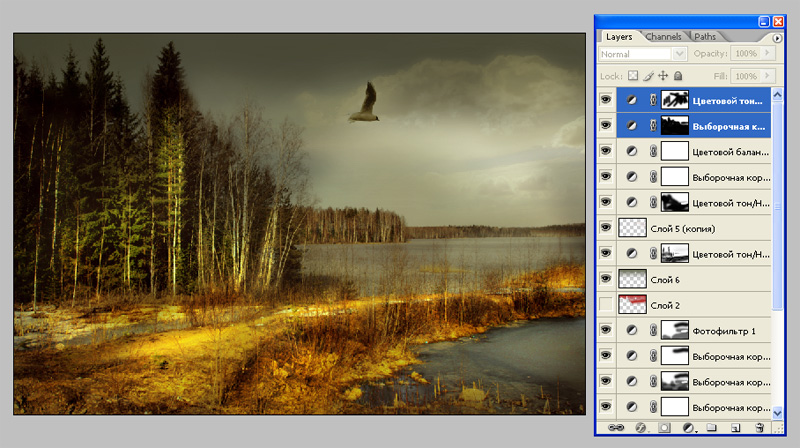
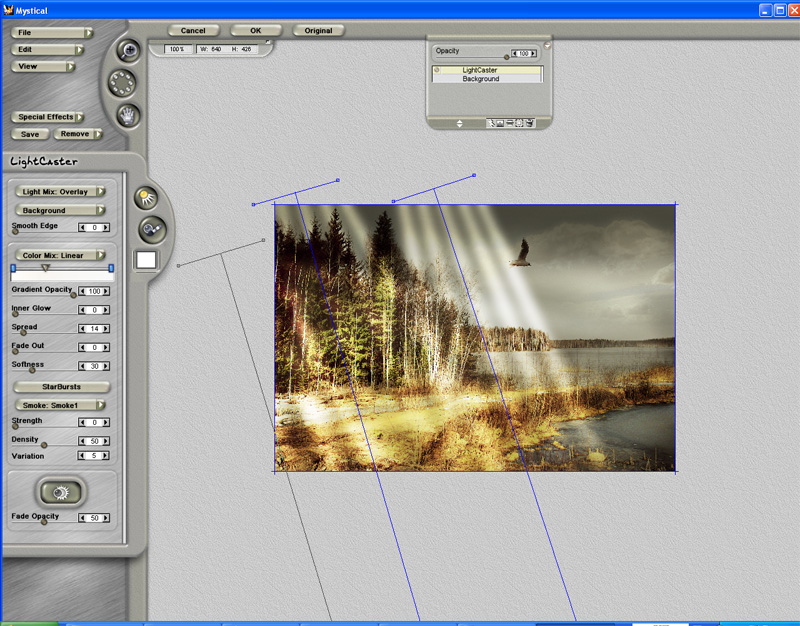
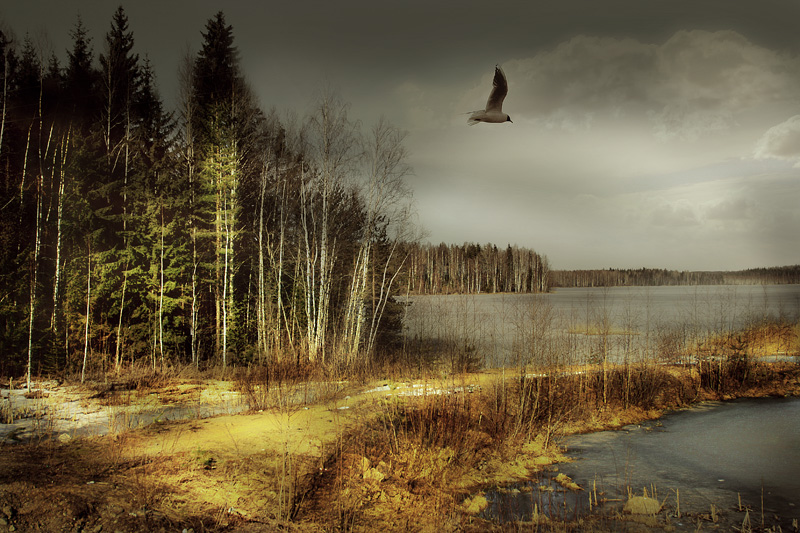
Step 8. Create a new layer «layer»-«new adjustment layer» - «photo filter», choose the one you like, remove unnecessary with a black brush (painting). Step 9. Create a new layer «layer»-«new layer» (just a new layer), choose gradient tool (the colour you like), vary Layer settings and its opacity. Now we have pink clouds. Step 10.. Create a new layer «layer»-«new layer» (just a new layer), choose gradient tool (you should choose dark colour – result is darkening), vary Layer settings and its opacity. Now we have dark sky. Step 11. Create a new layer «layer»-«new adjustment layer» - «huesaturation», choose the hue you like and its saturation and then remove unnecessary with a black brush (lightning). Step 12. Create a copy layer with clouds, but it should be lighter (then you can decrease Layer opacity). Step 13. Create a new layer «layer»-«new adjustment layer» - «hue/saturation», choose the one you like, выбираем понравившийся, remove unnecessary with a black brush (painting if it is necessary). Step 14. Create a new layer «layer»-«new adjustment layer» - «colour correction», choose the one you like, выбираем понравившийся, remove unnecessary with a black brush (painting if it is necessary). Step 15. Create a new layer «layer»-«new adjustment layer» - «colour balance». Step 16. Repeat last two steps one more time until you feel yourself satisfied. Step 17. Then merge Layers and apply sharpness “unsharp mask”. Step 18. Use «Mystical» filter, add to the image a few sun rays and brightness. Step 19. Feel proud of what you have done. And for the end, at this lesson I would not describe such trivial corrections which were done while picture editing like removing of hanging down from the sky wires, blurring adjustment, contrast adjustment etc. You should correct these details if necessary. lesson will be useful for you. Have good pictures. Dmitry Zhamkov 2007 |


Copyright © 2008-2024 www.zhamkov.com
Click on image to view full size