
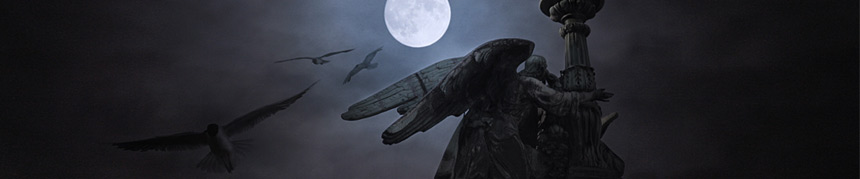
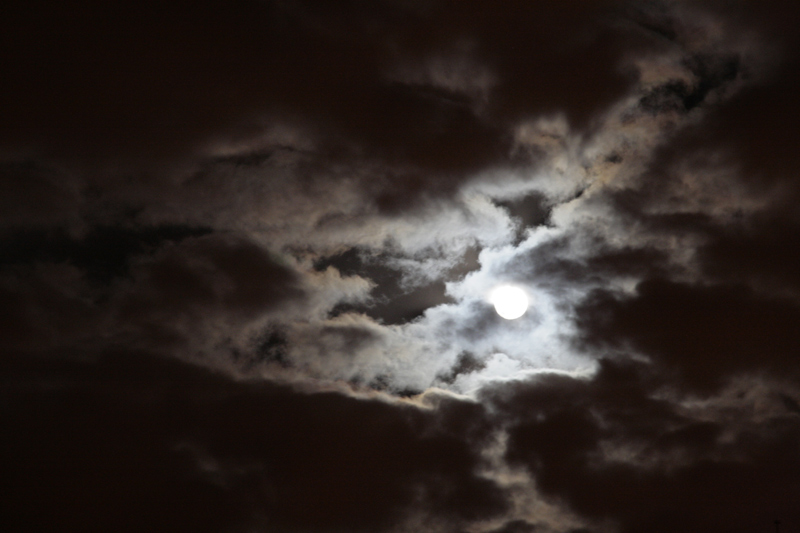
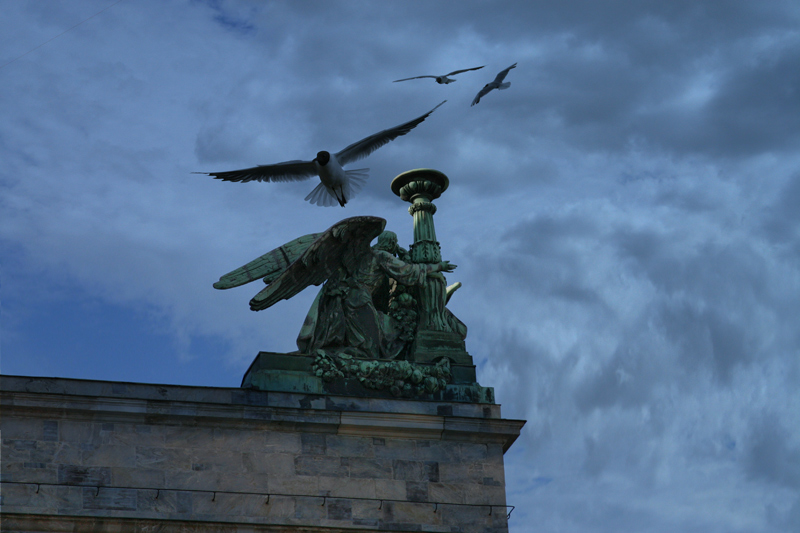
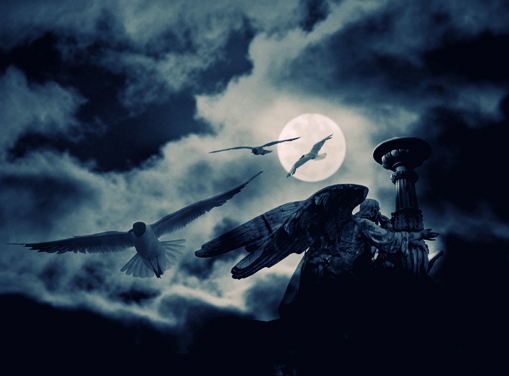
Isaac’s Chathedral Angels. Night shooting at noon.
|
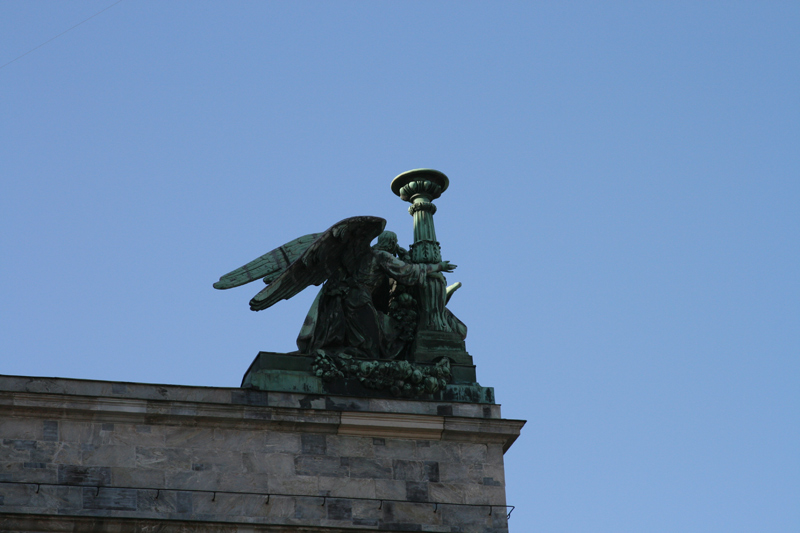
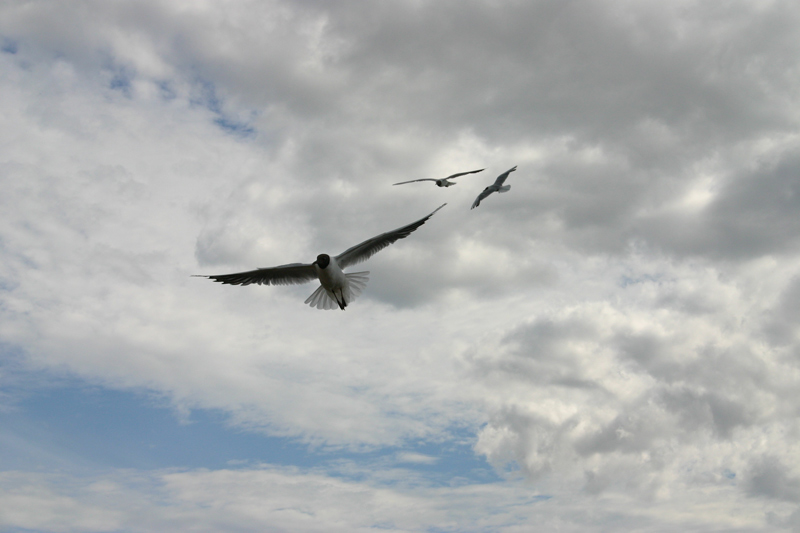
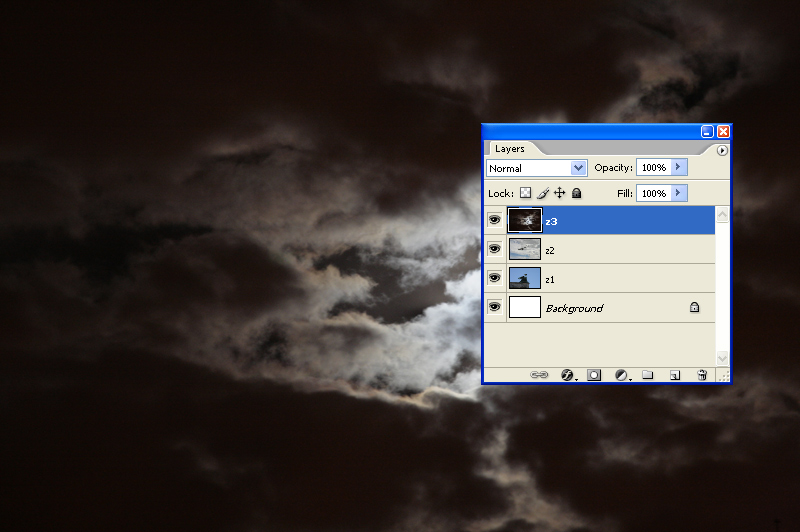
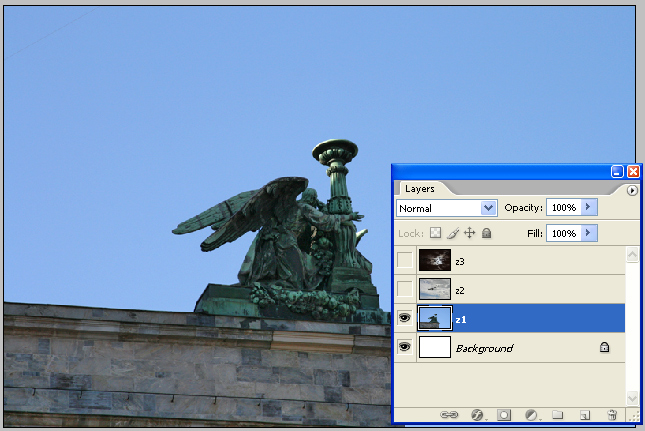
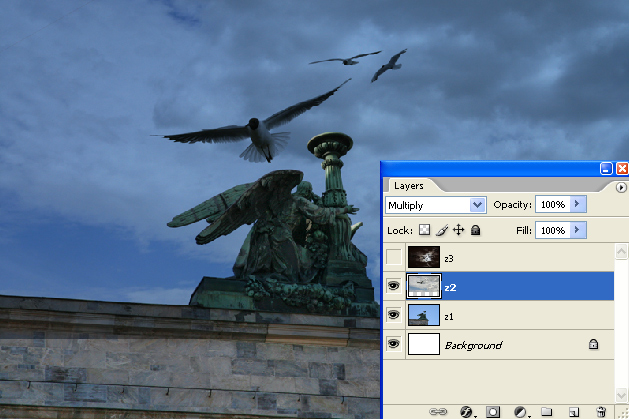
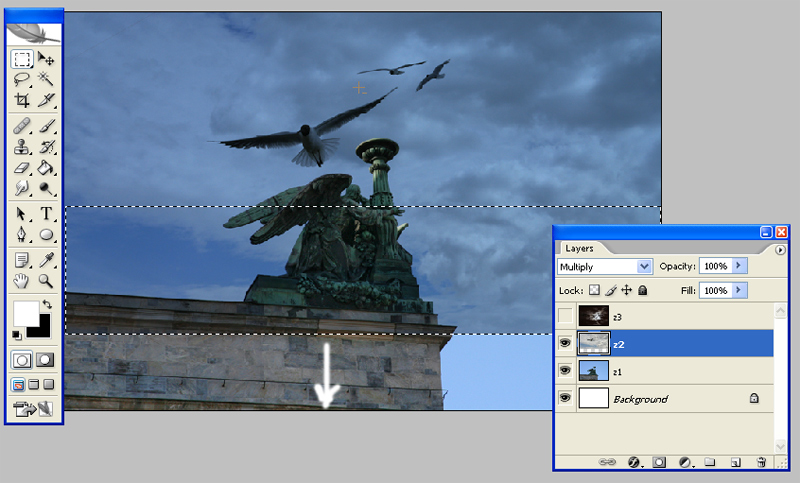
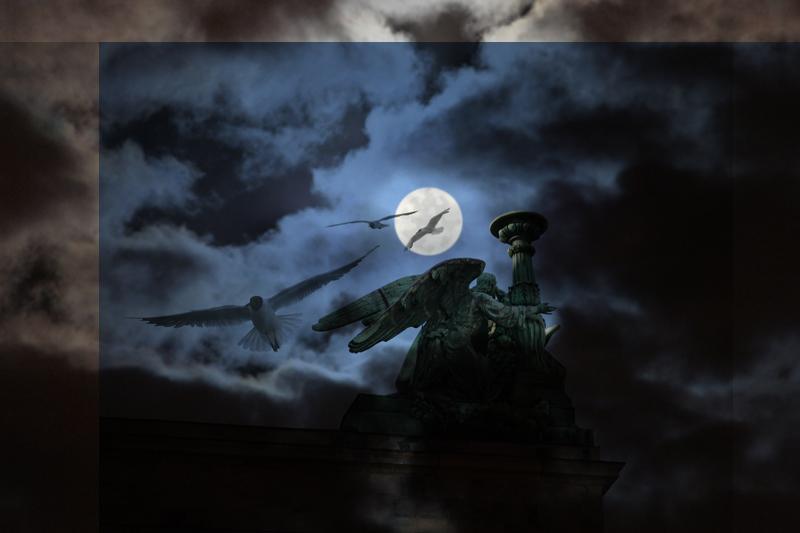
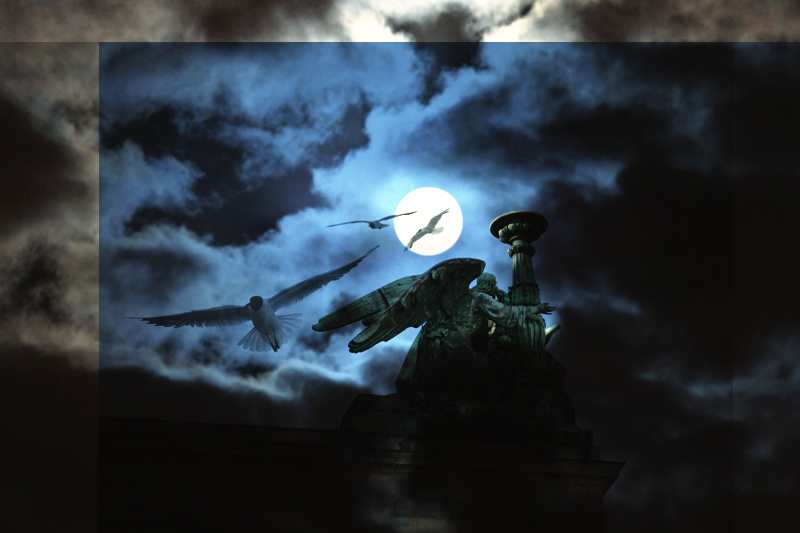
Believe most of yours saw my picture “Isaac’s Chathedral Angels”. I have a lot of questions where you ask me: “Did you really take this picture at night?”, “I’ve seen a picture with the same effect which was taken at day, and I am sure you know how it could be done”, “Could you give us a lesson about it?” etc. I will share with you some secrets and will try to describe the process of this picture creation. The 1rst that should be said – this is a collage, Photoshop. Unfortunately I did not save PSD file, thus we are to create the same picture from the beginning. The result should be following: Open these three pictures in Photoshop in consecutive order as it showed at the picture and name it Layer Z1-Z3 respectively. Then turn Z2 and Z3 to invisible and continue working with Z1. Go toImage>Adjastments>Shadow/Highlight and change settings for the following (Z1 became brighter and more expressive): 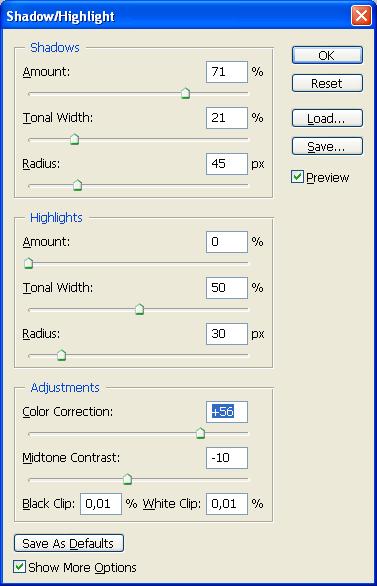 Now we have this picture: Important remark: all I will do further is not rule, it is just one of possible ways. Now you should move runners at your option and choose the one you like. Then we turn to active and visible Layer Z2 and change its settings to Muliply Change coordinates of birds at your option and then place the birds in compositionally right place. Released unnecessary space fill by transforming (stretching out edges). Select essential space, go Edit>Transform>Scale and stretch in right direction. And we get: This method will be useful in future when you will need to fill released space while moving layers one over other. |
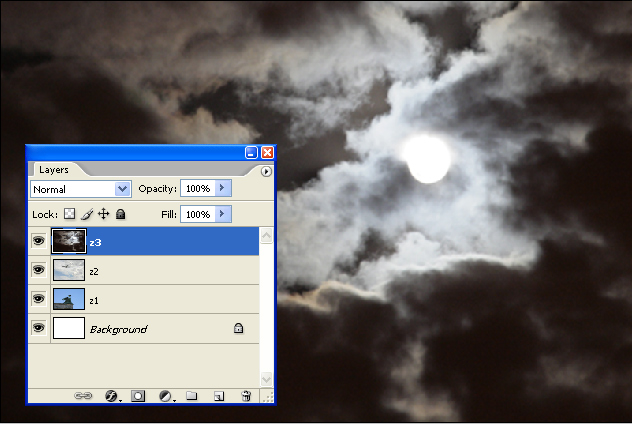
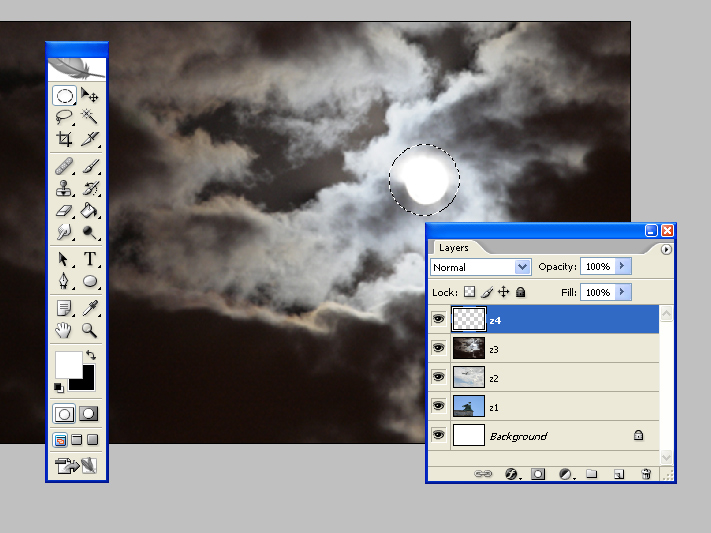
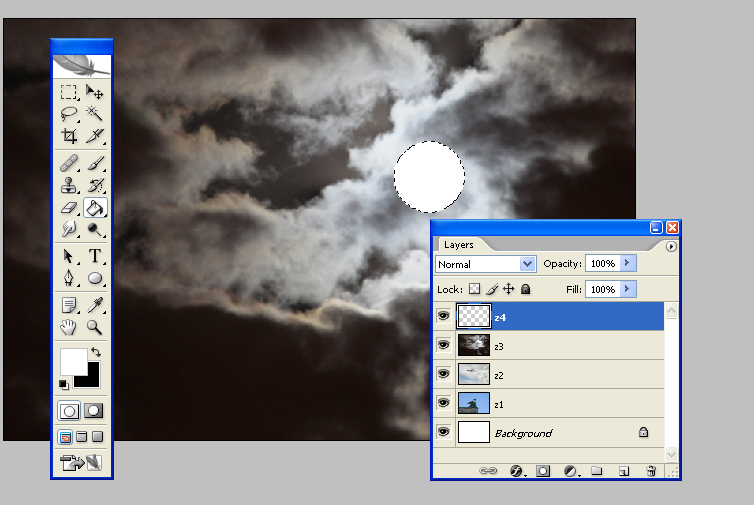
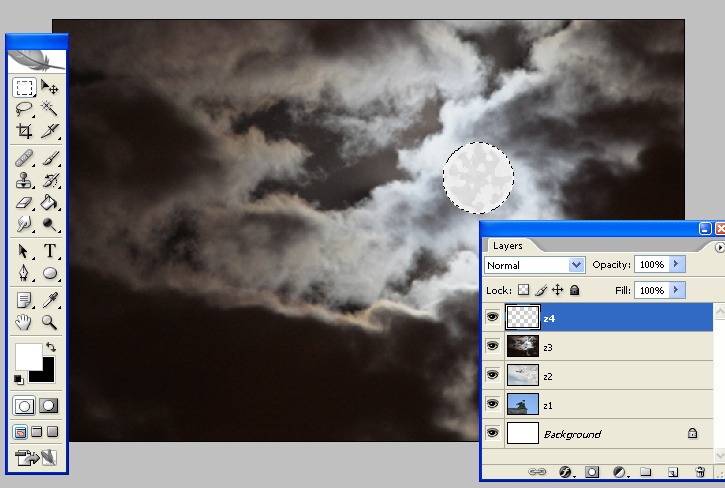
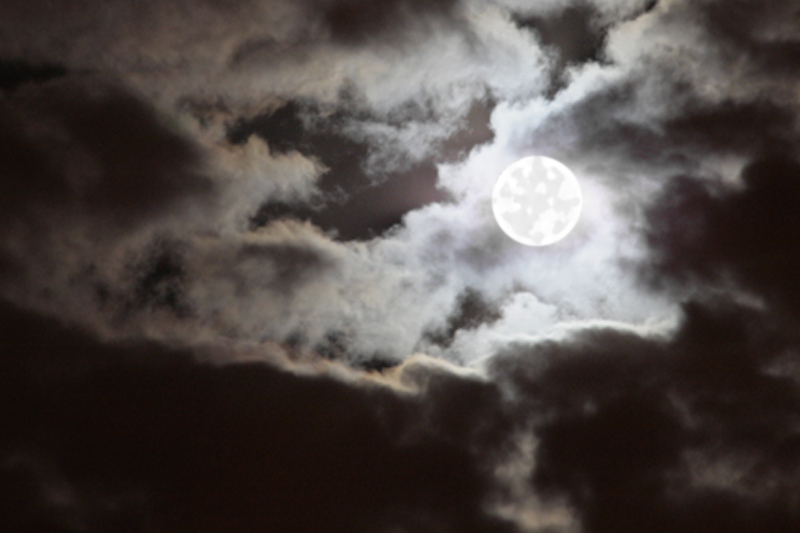
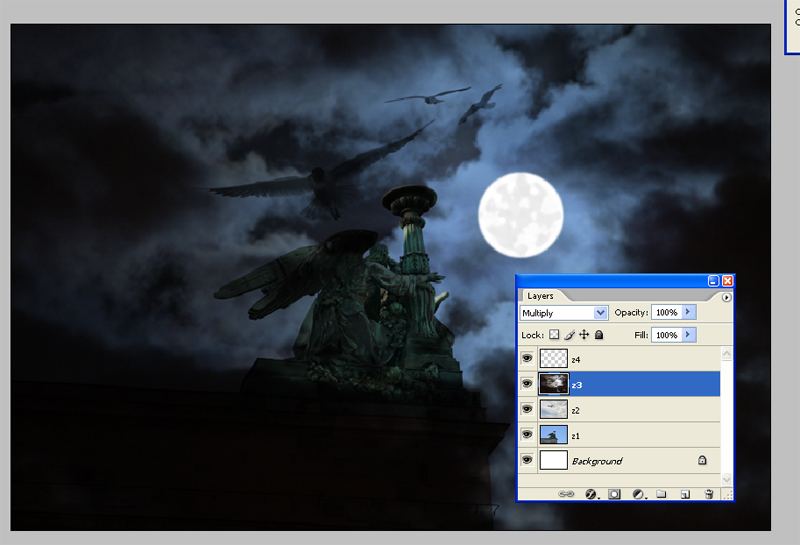
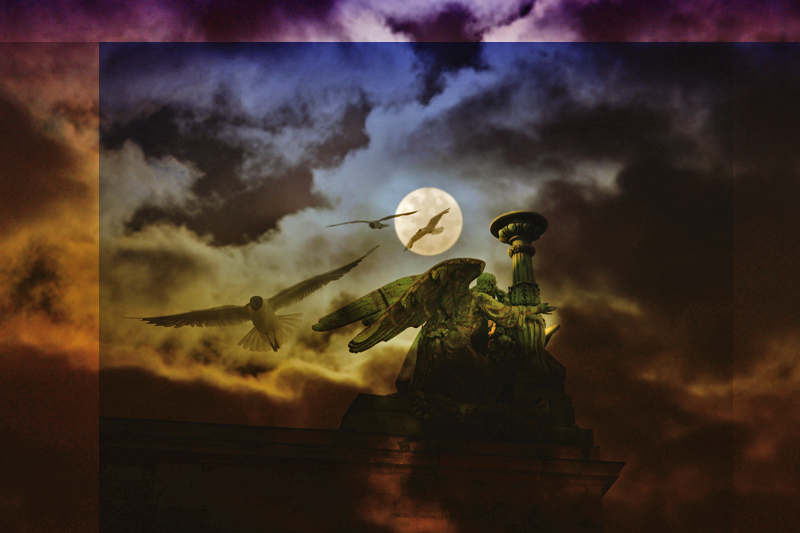
Then turn to visible and active Layer Z3. Zoon in (zoom out) adjusting picture to composition. Our moon is pale! Let us paint it :) For this we create new Layer Z4: Layer>NewLayer. Paint a right diameter round on it with Elliptic Marquee Tool and fill selected with white colour. Then leave selected space around the filling and apply Filter>Artistic>Sponge Now moon has essential surface. You can edit more the moon by increasing brightness, opacity, depth etc. Everything at your option. For example: Back to Layer Z3 and change its characteristic to Mulpiply Then move Layers Z1-Z4 and try to get right picture composition (right object placing at the image). Now the method of filling released spaces described above will be useful. Then adjust contrast, levels, hues and colours of all Layers at your own choice. Here is a few examples: That is the result, the same I got before: That is all. The lesson is finished. Remind you that it would not be enough if you just read the lesson, it is essential to create your own version, feel and understand yourself. Dmitry Zhamkov 2008 |

Copyright © 2008-2024 www.zhamkov.com
Click on image to view full size