
Lesson about ageing and deterioration
|
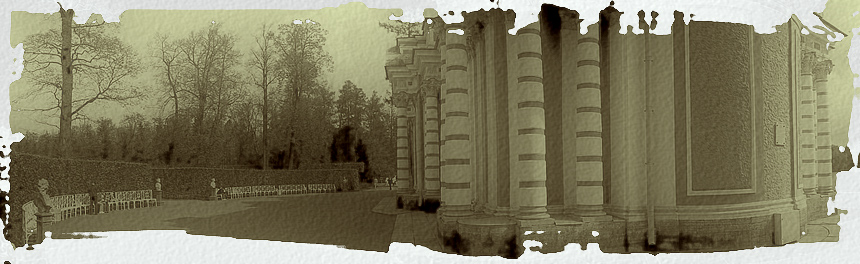
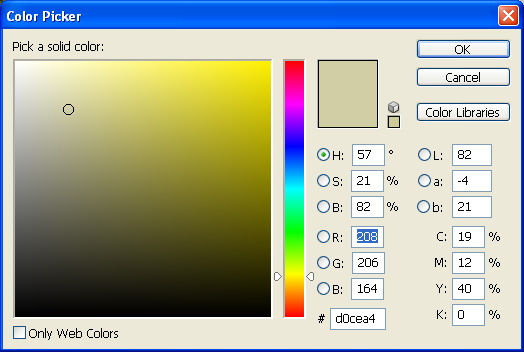
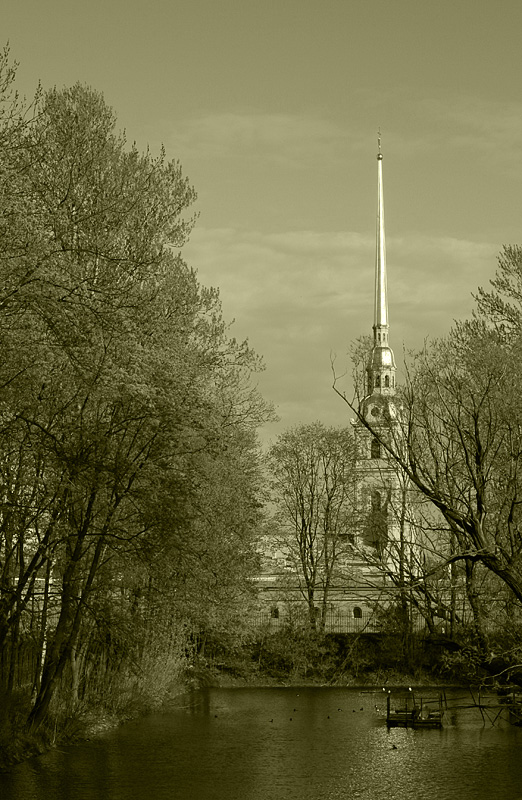
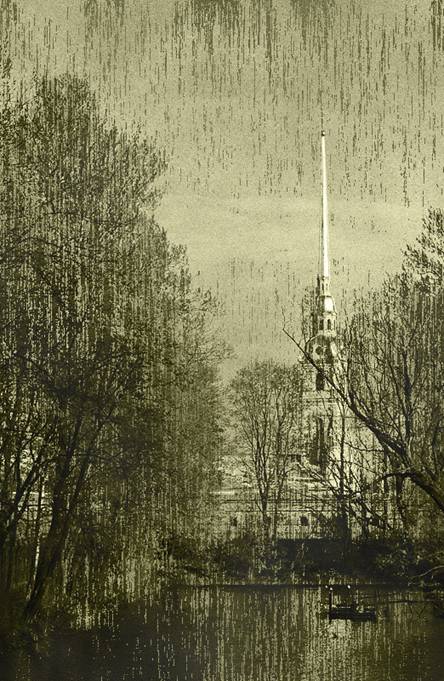
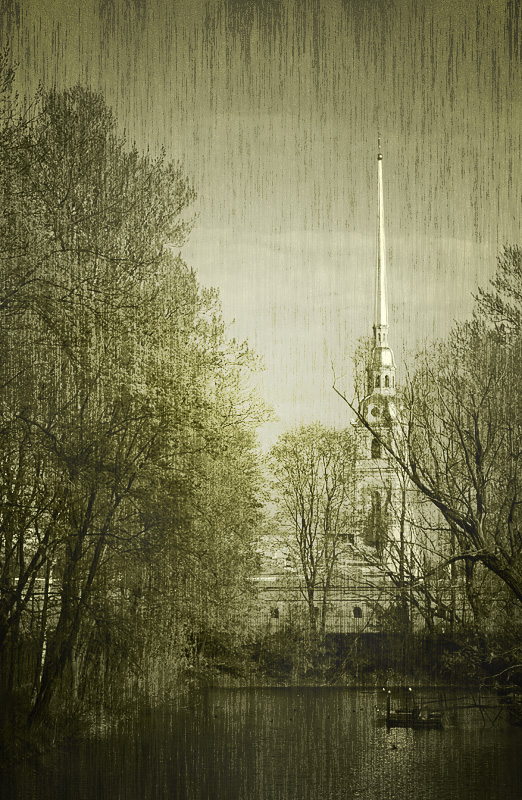
Урок о старости и старении. This is a lesson for those, who like old photos, for those, who want to try to stylize photos and make them look old. Sometimes using such a technique is defensible by the genre of the photo. For example, cityscape (if architecture allows), elements of buildings and objects of art, old constructions etc. Such a style is used very often at posed portrait genre together with corresponding entourage. I tell all this for you to understand that applying this technique is useful, when it is really necessary to accentuate subject and composition. Sorry for lyrical digression, let-s start. Open your «potentially old» photo. After that apply filters: Filter>Render>Clouds and then Filter>Noise>Add Noise. In the Noise menu set the slider to «11-12». Then add yellowness to the photo, for that go to Layer>New Fill Layer>Solid Color, and change Normal parameter for Color in the opened Mode menu. 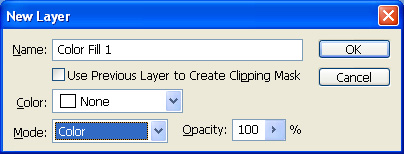 Then you should to select a color, select the color similar to that in the picture: Create new adjustment layer: Layer>New Adjustment Layer>Levels and change levels on it, trying to get the most contrast of light and shadow: 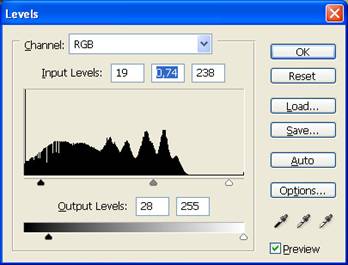 We have: Then apply filter to adjustment layer: Filter>Render>Clouds. Don’t forget to click «D» before applying filter: |
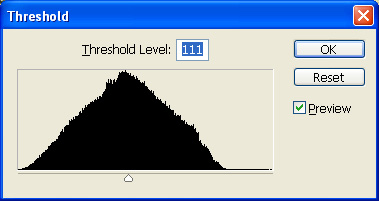
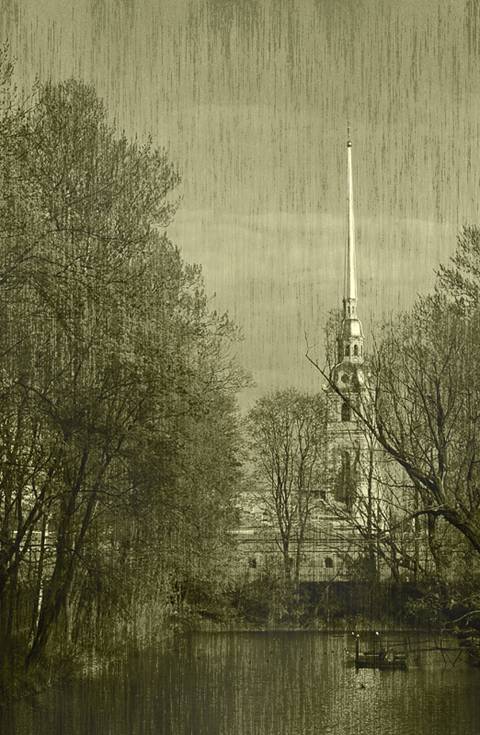
Now turn to upper layer with the photo and apply filter: Filter>Render>Fibers. Weaken filter effect using Edit>Fade, for example as in the picture: 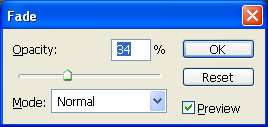 We have:  Add more deterioration: Image>Adjustments>Threshold and apply once more Edit>Fade Threshold with parameter 29 (in that way weakening the effect).
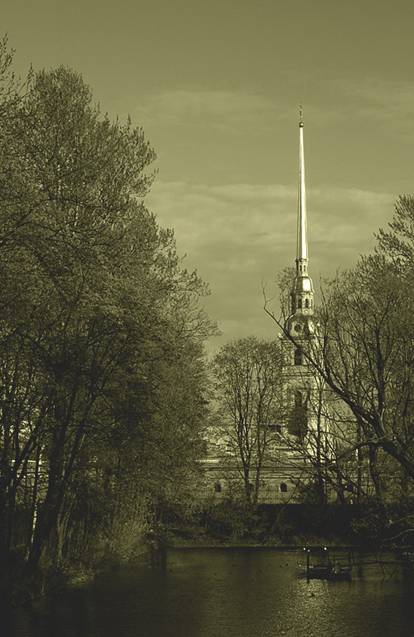
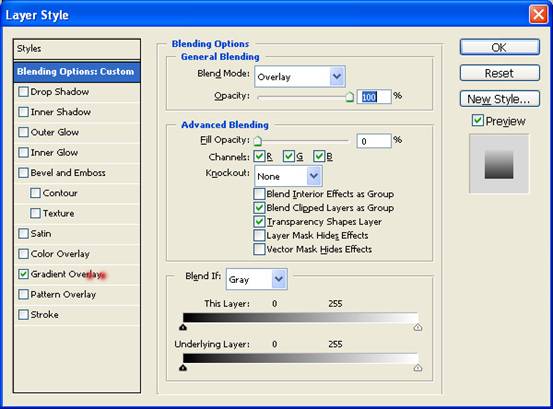
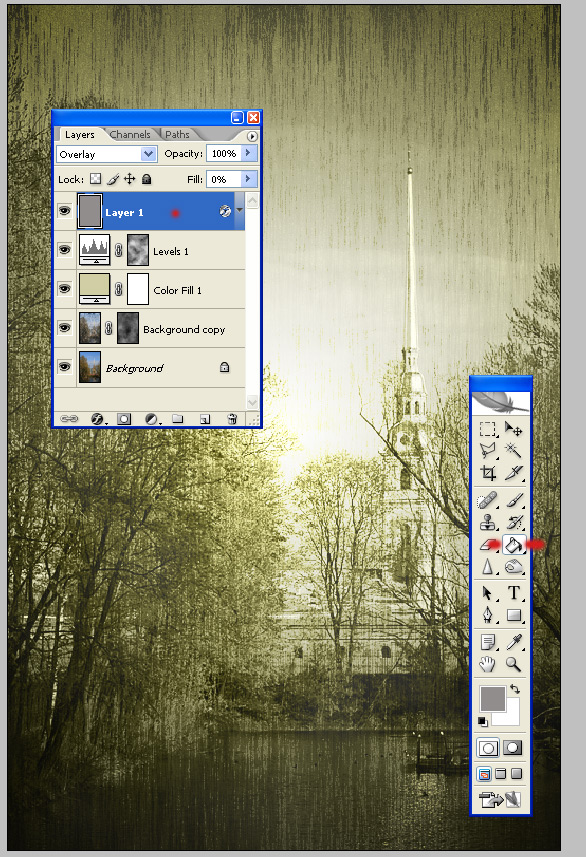
 We have: And after effect weakening And now the finale, create a new layer: Layer>New Layer, open properties of the layer and set opacity «0». Select Overlay mode and select Gradient Overlay check-box as in the picture: Click Gradient Overlay inscription (where red point is). Menu will be opened on the right, select options as in the picture. Click «OK». Select any color from the palette and fill up the new layer. Old photo is ready. |


Copyright © 2008-2025 www.zhamkov.com
Click on image to view full size